Operation Shear was an offensive operation mounted in Nottingham by the British Army's 24th SAS Regiment H-Squadron on July 12, 1951. The British operation was to seal off the Chimeran tunnel nexus that formed under Nottingham. In the weeks prior to Shear the Chimera had used these same tunnels to attack British forces undetected.[1] In response, Captain Rachel Parker assumed that if the tunnels were to be sealed off, it would enable a minor turning point for British forces.[1] However, following the aftermath of Operation Shear, it was revealed that the tunnels were used to excavate a Chimeran tower.
Battle[]

The plan of the battle. With Lt. Cartwright and Saunders in the North, Lt. Childress reinforcing from the South and K Troop in between.
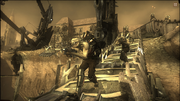
Once inside Nottingham, half of H-Squadron (under the command of Lt. Childress) moved in on the tunnel nexus from the southwest in order to neutralize Chimeran mortars, which threatened to pin down the whole operation if left unchecked. H-Squadron pushed uphill through a maze of Chimeran defences and human pre-invasion positions. Though they succeeded in taking the position and destroying the Chimeran artillery, Lt. Childress and around half of H-Squadron lost their lives, with Sergeant Nathan Hale the only one to emerge unscathed. Childress' subordinate Saunders assumed command of the remnants of H-Squadron for the remainder of the operation.


Lt. Childress' troops trying to take the mortar positions.
Captain Parker, observing and directing the battle from an airborne command VTOL, ordered Hale to take a shortcut through a partially blocked train tunnel which would lead him towards Lieutenant Stephen Cartwright's K-Troop, which had run into a particularly stubborn area of Chimeran resistance, just short of the tunnel nexus.

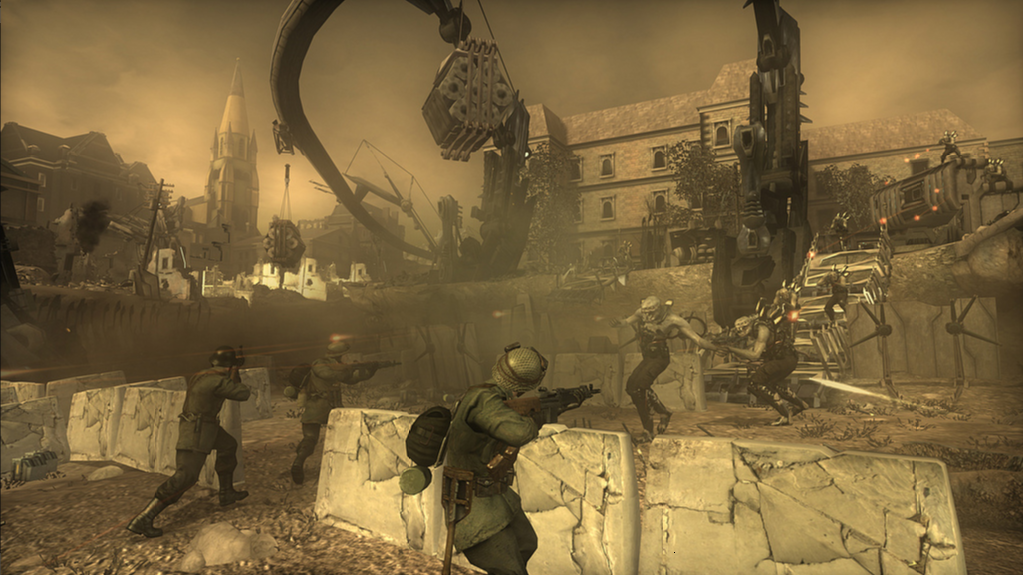
The British Resistance meets heavy opposition on the bridges.
In order for their forces to relieve Cartwright, Hale and Childress now had to force a crossing one of two bridges spanning a ravine created by Chimeran excavations. The Chimera, desperate to protect the excavation of the Nottingham tower, counter-attacked across these spans to establish a foothold on the southern side whilst the bridges were destroyed.

K Troop engage with the Chimera on the bridge.
Hale arrived on the scene and assisted K Troop in holding the line. Although the Chimera managed to improvise a method of using the nearby excavation equipment to destroy one of the bridges, K Troop and Hale managed to fight their way across the second bridge and overwhelm the Chimera on the other side. This action cost many lives but allowed for the continuation of the operation and saved Cartwright's unit from being overrun. It was at this point that Cartwright had suspected that the Chimera were "up to more than just digging tunnels". Cartwright then immediately pushed into the excavation area while they had the initiative, while the majority of the Chimeran forces were distracted by British forces further afield.

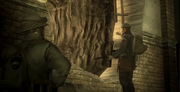
K Troop Commander Sergeant Brierley liberates Lt. Cartwright
The crater in which the entrance to the tunnels was located was filled with what Cartwright termed "pylons". These structures served as a vantage point for Chimeran defenders and as a quick means of crossing the crater, but it is unclear if these structures served any other purpose or if they were actually part of the partially excavated tower. Each pylon was linked to the others by a mass of wires and cables and each one had sentry guns mounted on the platforms.
Once on the ground Cartwright and Saunders' half of H-Squadron, along with Hale secured a foothold in the crater, bringing down a Titan and many Hybrids in the process. However, their advantage couldn't last long, as the Chimera continued to reinforce their positions in Nottingham through the tunnels and were holding up the rest of the force from reaching them. Cartwright directed Saunders and some of his squadron to begin sealing off the tunnels one by one whilst Hale and the remaining elements of H and K Troops bought them time to do so.
Hale used the pylons to cross the crater and secure the entrance to the tunnels single-handedly, taking down a Titan on his own and securing the site. With the nexus secured, Cartwright requested Northern Command to investigate what the Chimera were digging.[1] However, the subsequent destruction of Northern Command likely prevented any information from being gleaned from this victory. It would take several more days before Cartwright and Hale would be able to uncover a second site in Somerset and realise that Nottingham's extensive excavations likely made it the site of another Chimeran tower.
Aftermath[]
Despite their heavy casualties H-Squadron was able to seal off the tunnel nexus. The "risky offensive operation" that Parker had masterminded had been a small but important victory. After Operation Shear, British troops were airlifted back to Southern Command and Parker took Hale to Northern Command in Cheshire for debriefing and analysis, given his infected condition. The victory in Nottingham was a morale boost for British forces and allowed British troops some respite.
References[]
- ^ a b c Resistance: Fall of Man, campaign level Nottingham
| |||||